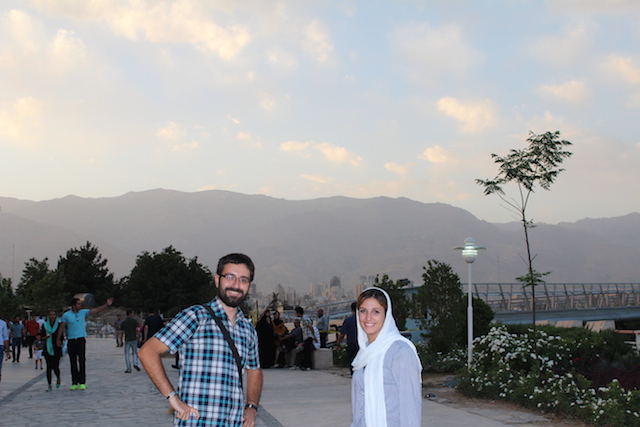
No podemos hablar de Teherán sin hablar de Sahar. Sahar era una amiga iraní de Sergio y Lorena, que para empezar, nos ayudó a conseguir la visa haciéndonos una carta de invitación, y por eso en el aeropuerto fue tan sumamente fácil. Pero es que además nos reservó la primera noche de hotel, que teniendo en cuenta a las horas tempraneras que llegábamos, lo agradecimos mucho, la verdad. Y luego nos hizo de guía el primer día. Así que después de descansar un poco, nos vino a buscar al hotel y nos llevó por ahí.
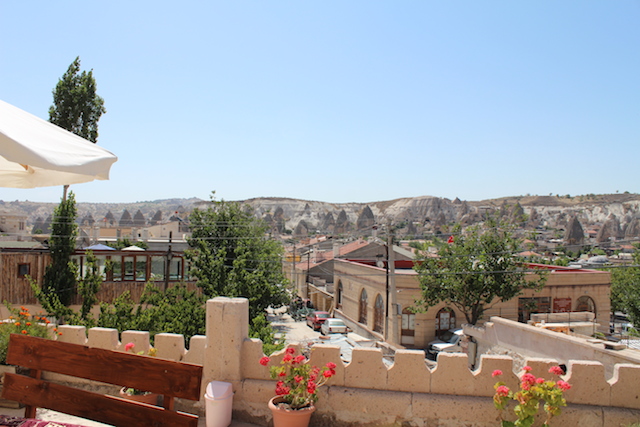
Lo primero que nos llamó la atención es que no sabíamos muy bien que esperar de Irán, pero Teherán es lo más europeo del mundo, en particular, español, Teherán es muy parecido a Barcelona. Y los persas físicamente también son muy parecidos a españoles o italianos, de hecho absolutamente todo el mundo cree que Alberto es iraní y se dirigen a él en Persa, jeje. Otra cosa que nos sorprendió es lo limpísimo que está todo, pero Alberto dice que Barcelona seguramente está así también, es por el contraste con India, jeje.
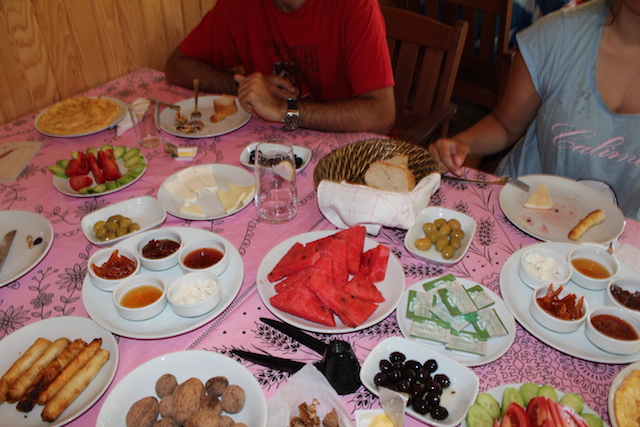
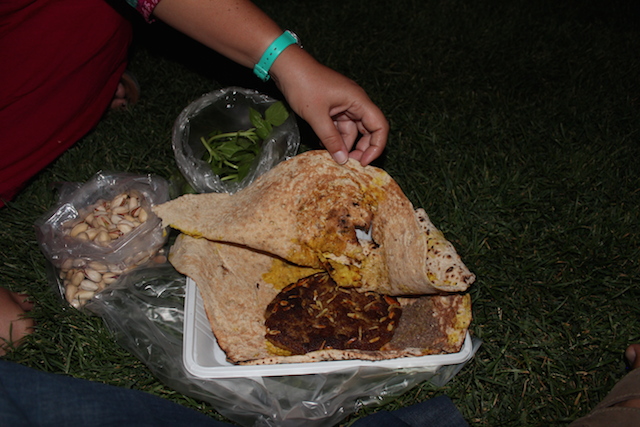
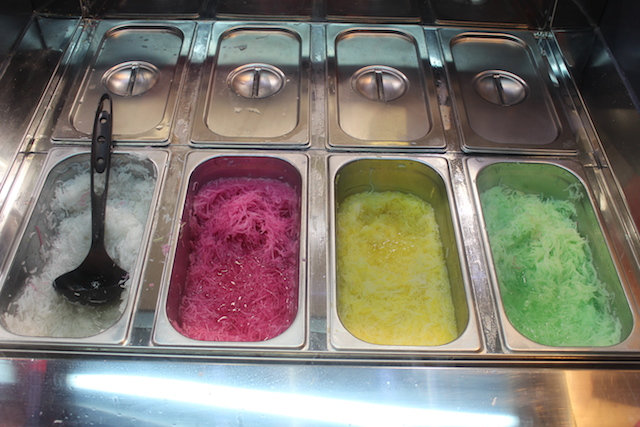
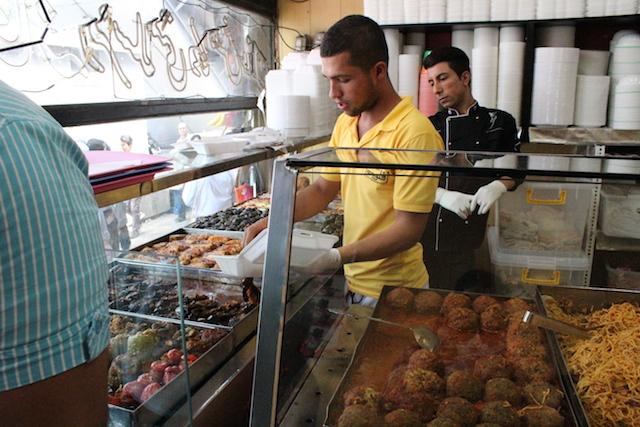
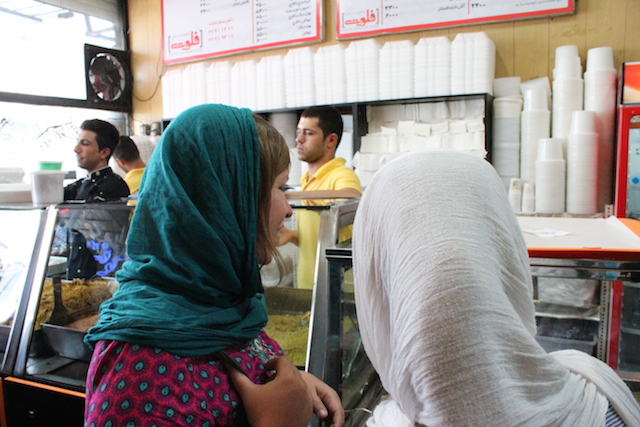
Sahar nos llevó al norte de Teherán, dimos un paseo por un bazar y probamos algunas cosas en las tiendas de comestible, como las olivas aliñadas con una pasta de granada, que estaban buenísimas, o una especie de albaricoques ácidos en jugo, tremendos también.
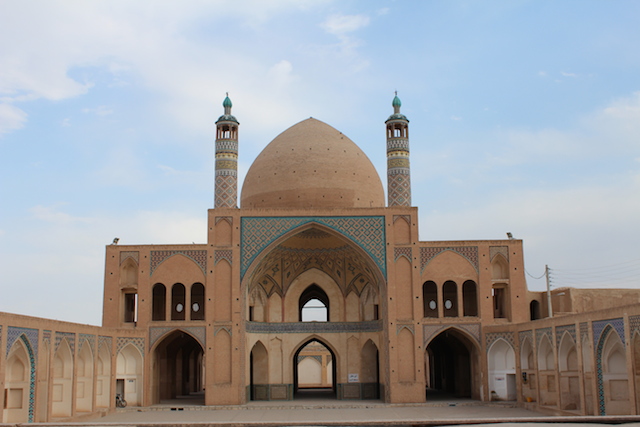
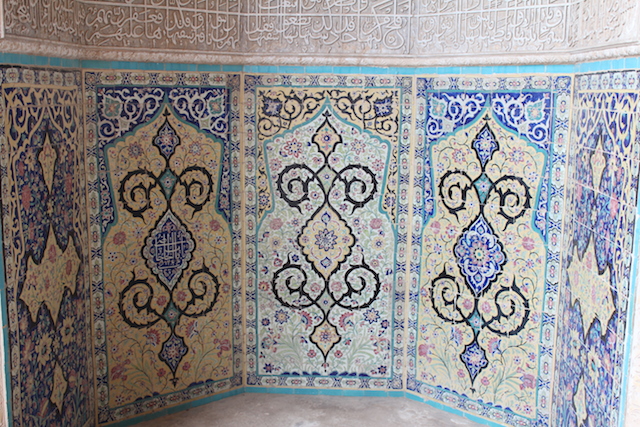
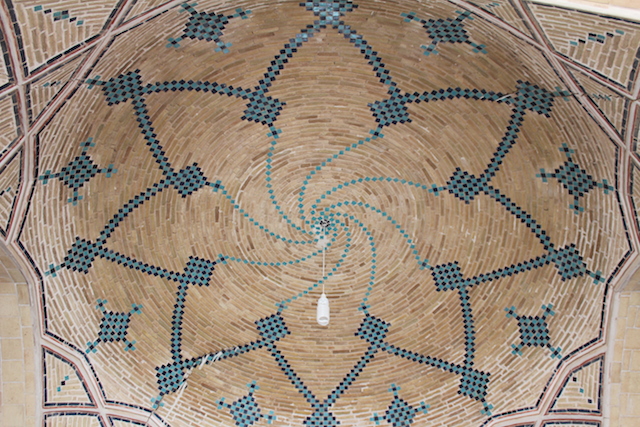
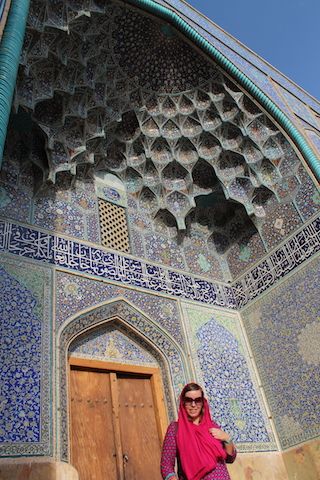
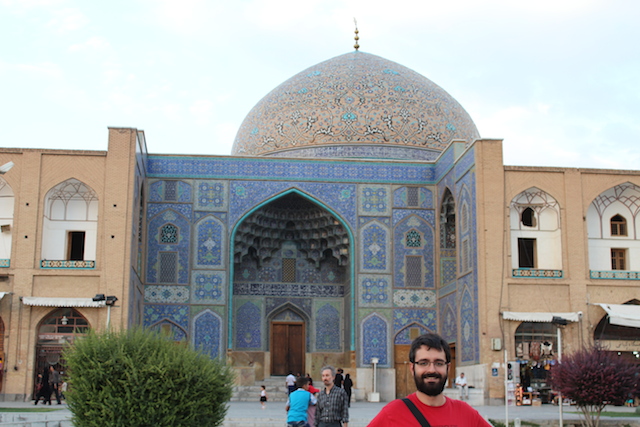
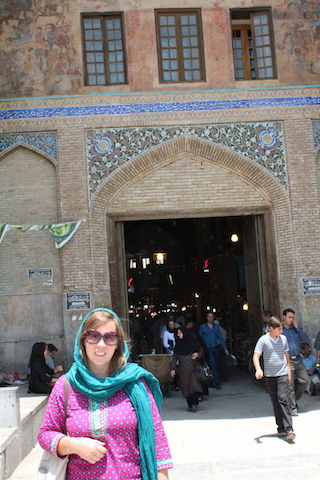
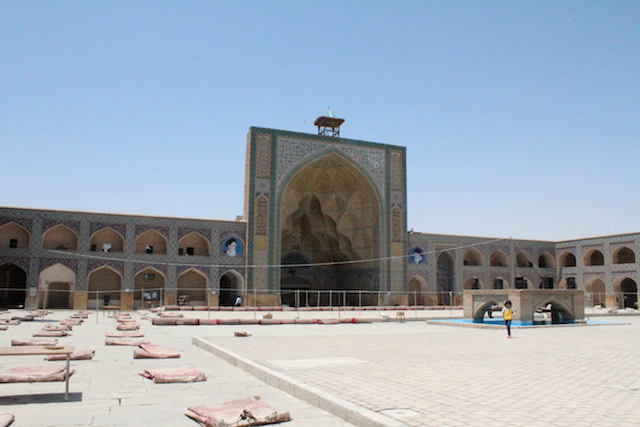
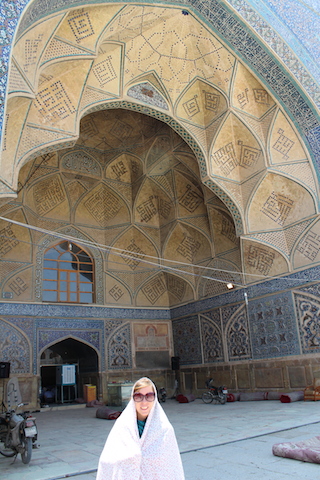
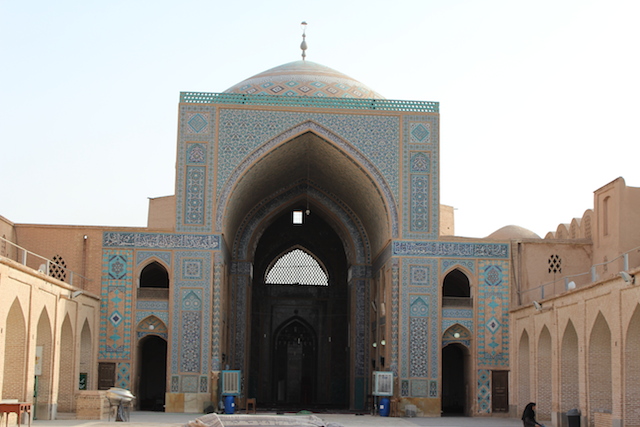
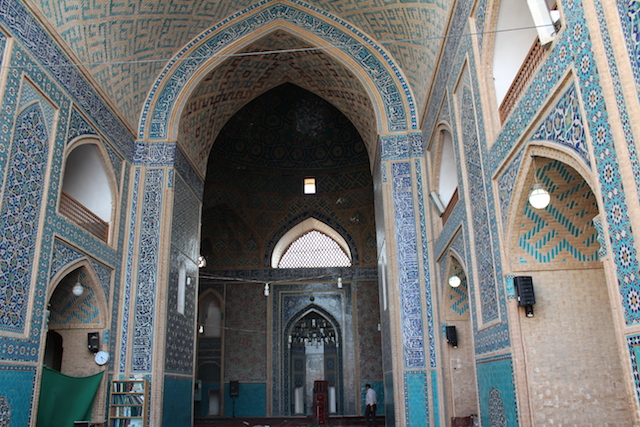
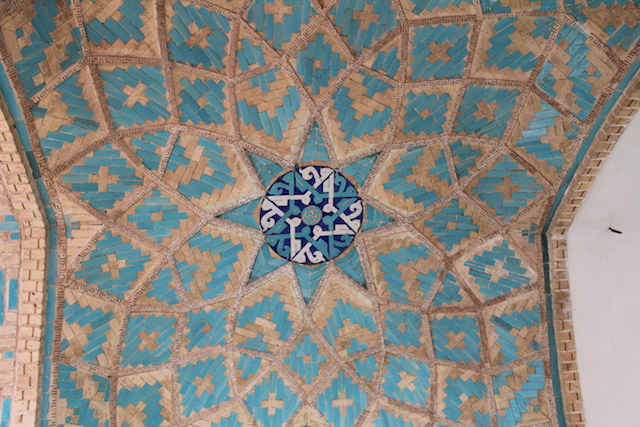
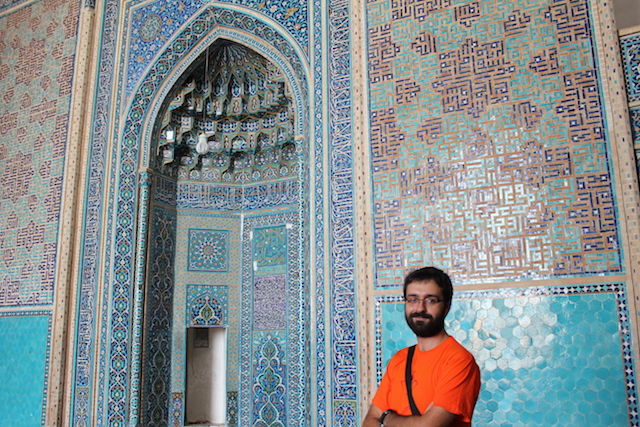
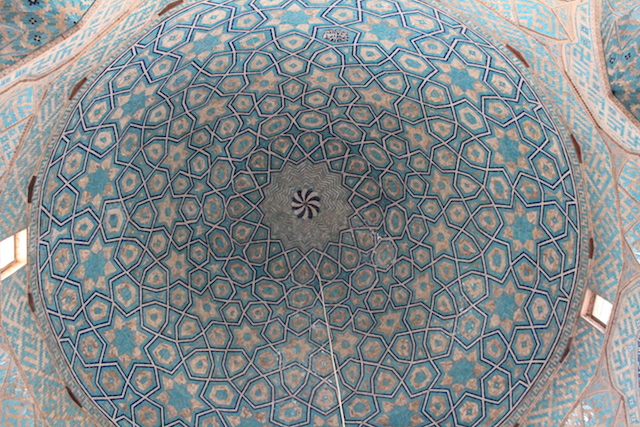
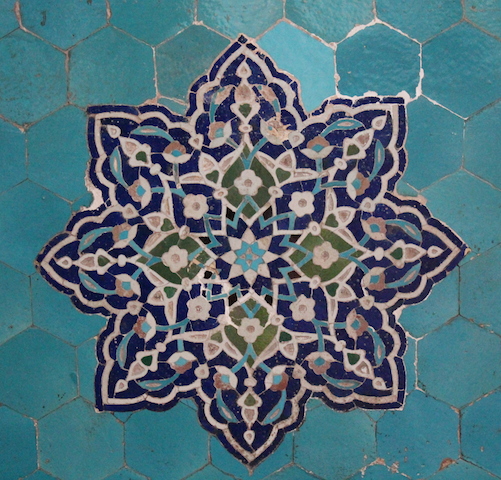
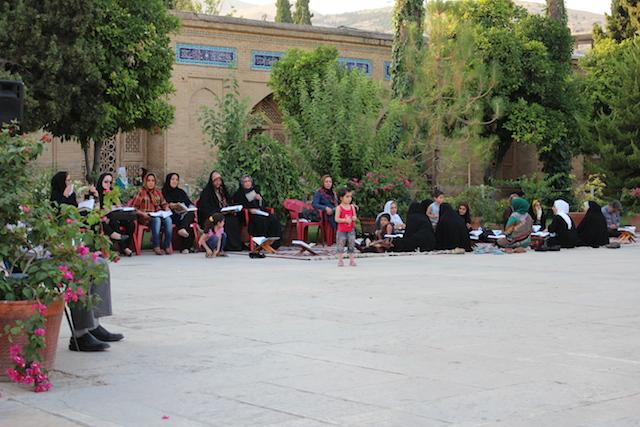
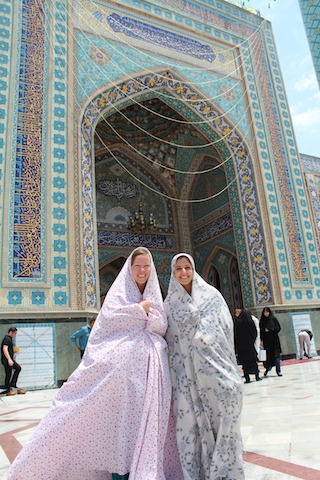
Además nos llevó a una mezquita muy bonita, y nos confesó que era como la segunda vez que ella entraba en una, porque ella no es creyente. Para entrar a la mezquita, tenían como una habitación donde podías coger prestado un chador, que es como la sábana con la que se cubren, estaba bien que eran claritos y no negros como los que muchas de ellas llevan.
Luego nos llevó a comer comida tradicional iraní, hecha con berenjena, carne picada… muy bueno todo, y descubrimos la bebida de yogurt que toman aquí, que es diferente al lassi indio.
Después de comer, se nos caía la cabeza del sueño, así que fuimos a tomar café, y nos llevó a tomar café a la cafetería del museo del cine. El museo del cine nos encantó, en Irán hay mucha cultura del cine y eso se nota, tienen una exposición muy bien presentada y una sala de proyecciones chula, además en otra mini sala, proyectan la primera película iraní (dos minutos). La entrada hacia el museo del cine es Barcelona total.

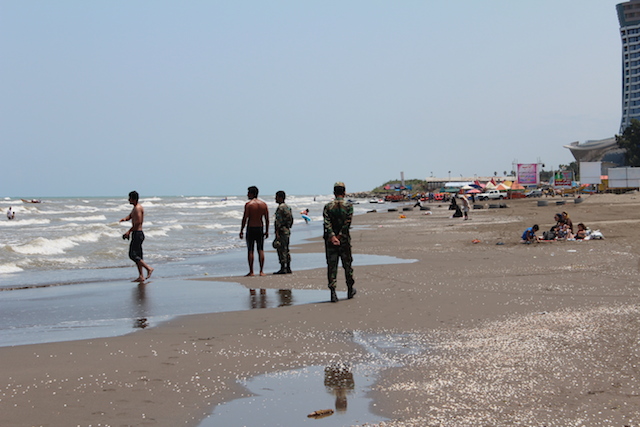
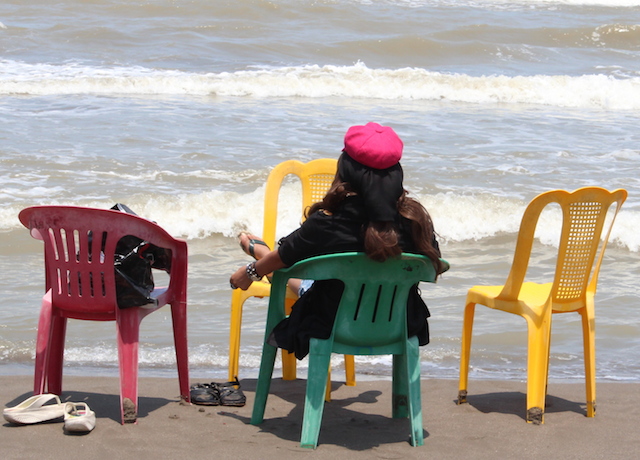
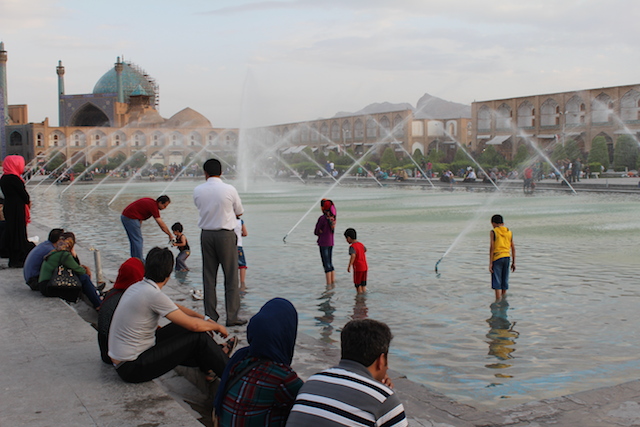
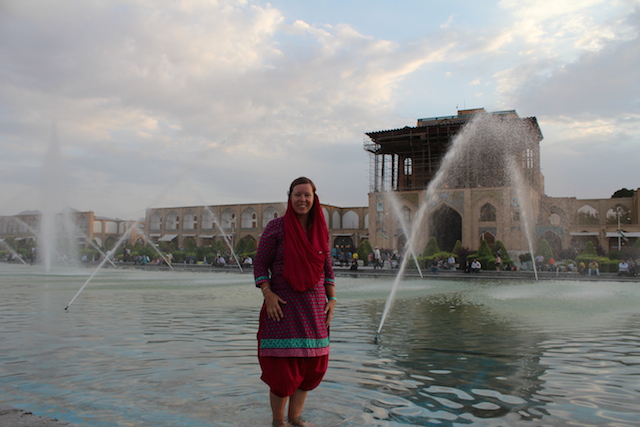
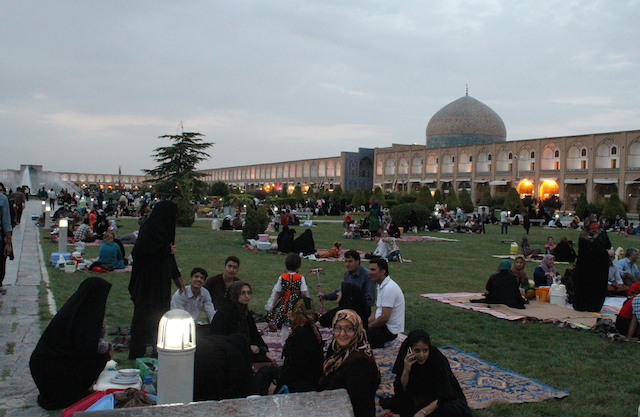
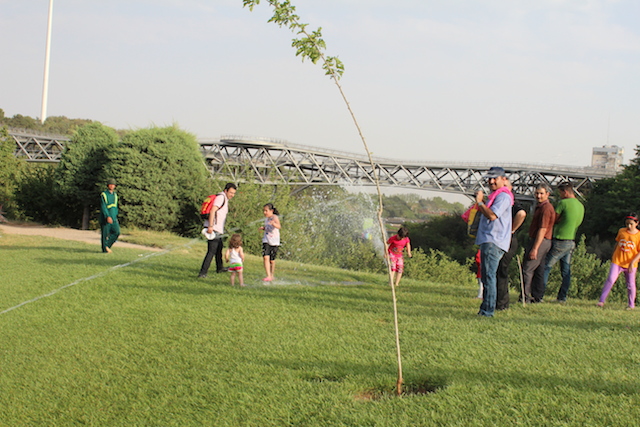
Y luego fuimos a hacer un poco de siesta time en un parque, parque también súper de Barcelona, pero más diver porque aquí todos los niños estaban jugando con los aspersores, la gente hacía picnic, patinando, incluso vimos gente bailando, que parece ser que si te ven bailando, te pueden arrestar.
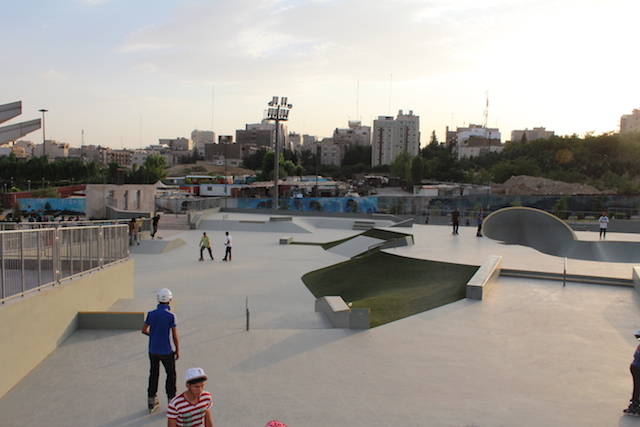
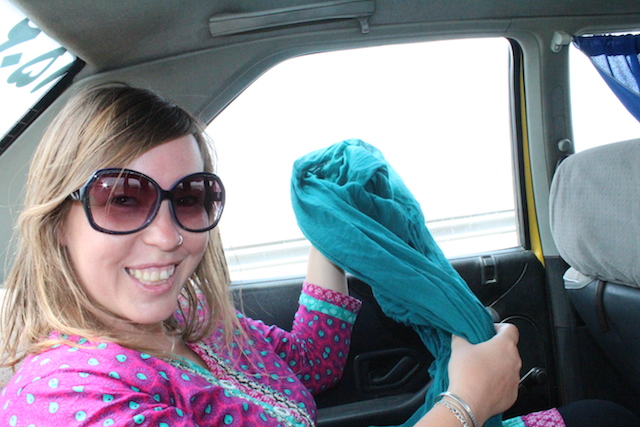
Y es que lo de los arrestos debe de ser una cosa muy a la orden del día, sobre todo por códigos de vestimenta, parece ser que si tu camisa no es suficientemente larga o no vas lo suficientemente tapada, te arrestan, y entonces alguien de tu familia va a llevarte ropa y sales. Pero muchas mujeres iraníes son muy valientes y juegan a los límites, faltaría más, hecha la ley, hecha la trampa.
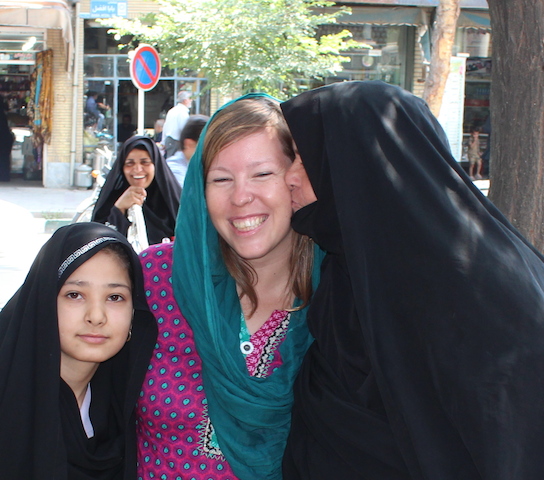
Así por ejemplo con el tema del pañuelo, hay mujeres que enseñan más de media cabeza, se hacen unos moños altos con coleteros y tal para rellenar, y así ahí se les aguanta el pañuelo.
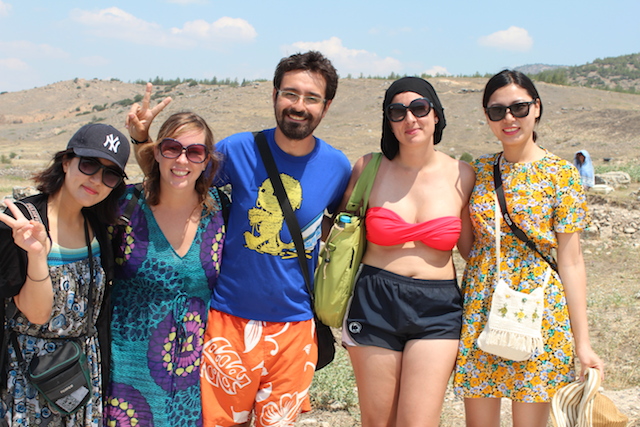
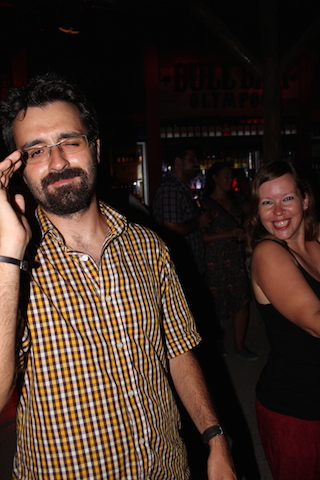
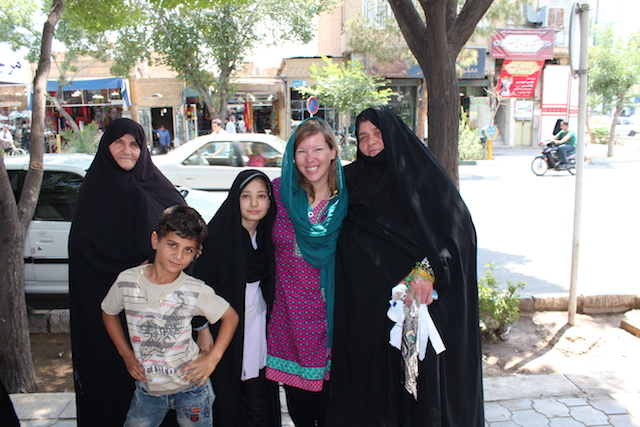
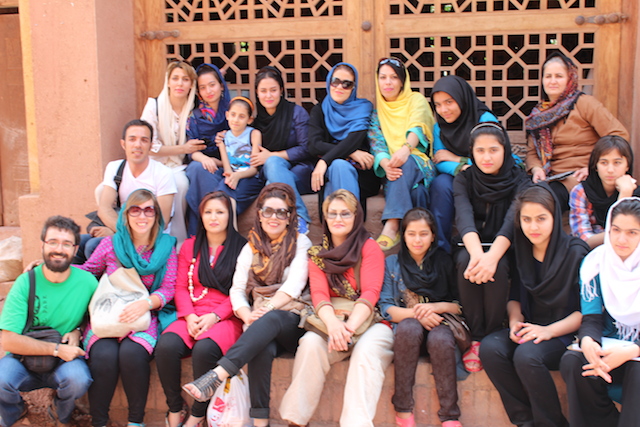
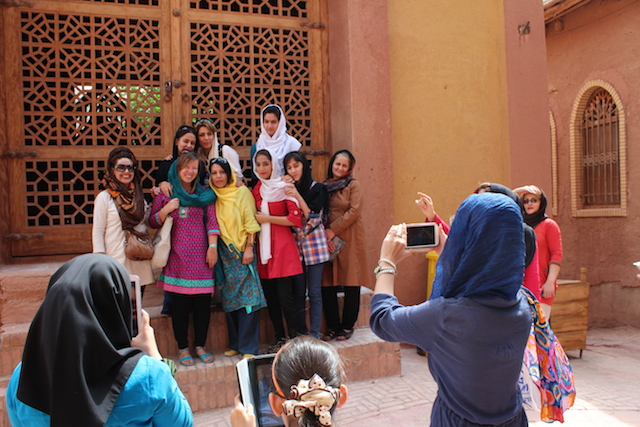
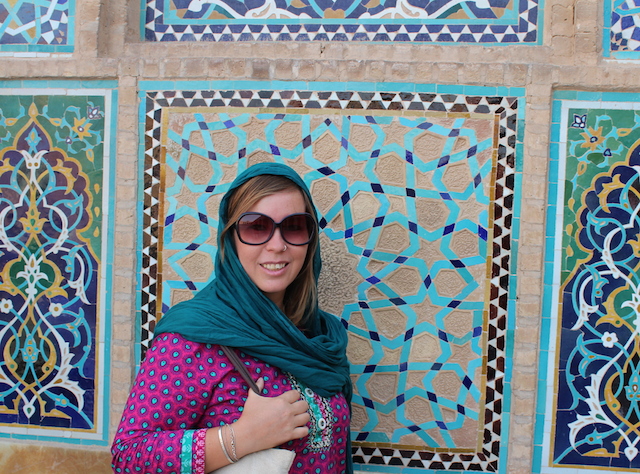
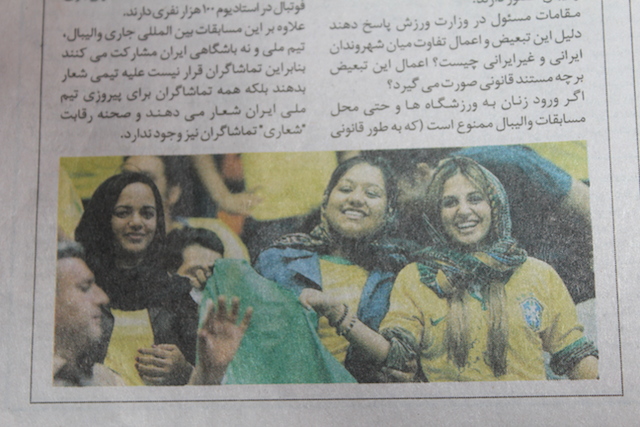
Sobre las mujeres de Irán se podría hacer un post entero, yo creo que Alberto igual se anima en su blog. Estéticamente son guapas, morenazas, pero tienen un gusto un tanto diferente al nuestro, para empezar casi todas se operan la nariz, es el país con más operaciones de nariz (cierto es que si puedes enseñar tan poquito de tu cuerpo, complejos y tal, deben de ser mayores) y hemos visto ya más de veinte personas con las tiritas de recién operadas, también hombres. Las mujeres además llevan las cejas muy diferentes, mucho más gorditas que en España, pintadas para que resalten mucho, pero como muy cortas, casi cortadas por la mitad y siempre como en diagonal para arriba, en general van maquilladísimas. En las fotos veréis a Sahar, ella no cumple ninguna de estas cosas, pero es que si ya en Irán hay muchas mujeres luchadoras, diferentes, Sahar es la súper crack, es la mejor. Solo os voy a enseñar una foto y os voy a decir que las mujeres no pueden ir a ver los partidos al estadio cuando juegan hombres, pues ella es la primera iraní que va, invitada por la embajada de Brasil con otras mujeres brasileñas. Y han hecho historia, porque ahora se ha reavivado el debate de si las mujeres extranjeras pueden ir, porque las iraníes no. Aunque en la foto veáis que anima a Brasil, ganó Irán, y es que están arrasando en voleibol este año. Pero Sahar es noticia, yo le digo que es una celebrity, salió hasta en la CNN.
Yo como persona bastante inculta, no tenía mucha información sobre Irán (además de que creo que llega bastante poca), con lo cual también tenía pocos prejuicios. Si que es verdad que desde que decidimos venir, Alberto me contaba cosas y Lorena otras. Alberto tiraba más al optimismo de que todo el mundo que había venido le había hablado genial y le habían dicho que los iraníes eran majísimos, súper hospitalarios, pero luego parecía creer que la mujer no podía ni abrir la boca. De hecho cuando fuimos al consulado en Bombay, yo estuve en un segundo plano total, ni me dirigí a ellos. Lorena, por el contrario, me decía lo súper modernos que eran, y en particular las mujeres, que iban vestidas muy provocativas, más que España.
Ahora con el poquito tiempo que llevo aquí, mi sensación es que la mujer aunque pueda parecer lo contrario tiene un peso muy importante en la sociedad, y estudian (más que los hombres), trabajan, hablan de tú a tú al hombre, no están en un segundo plano sumisas. Sin embargo, lo de la vestimenta, salvo contadas ocasiones, es terrible, muchísimas llevan el chador (sabanón) negro por encima, o si no igualmente van vestidas de negro riguroso, en Teherán que se supone lo más moderno, más del 80% llevan al menos el pañuelo negro. Al negro evidentemente no las obliga nadie, creo, será porque les gusta, pero hace que la calle sea mucho más triste, es como un luto. Y eso que la ciudad es alegre y colorida como Barcelona.
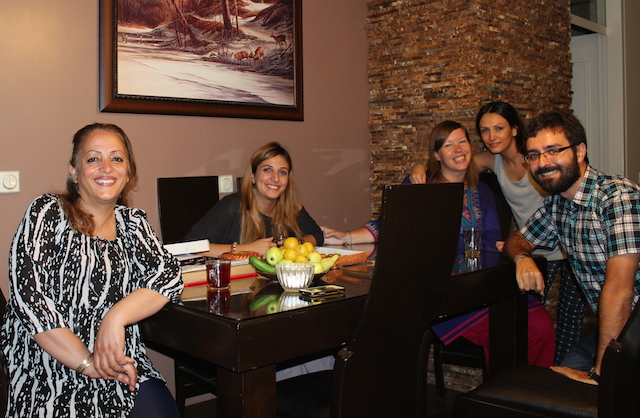
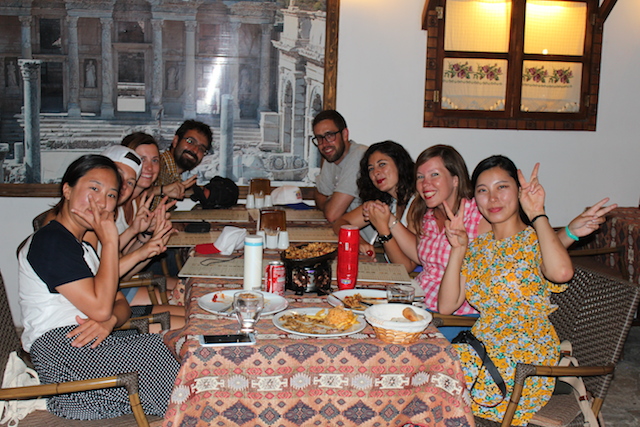
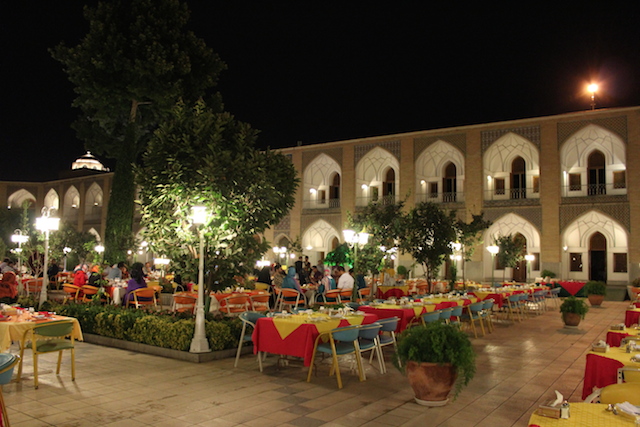
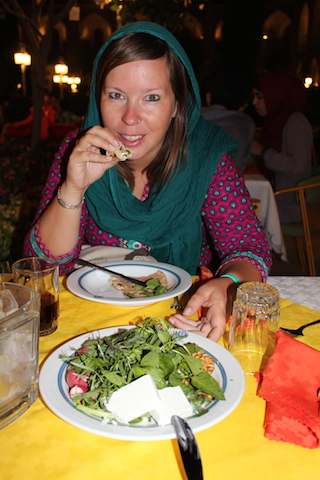
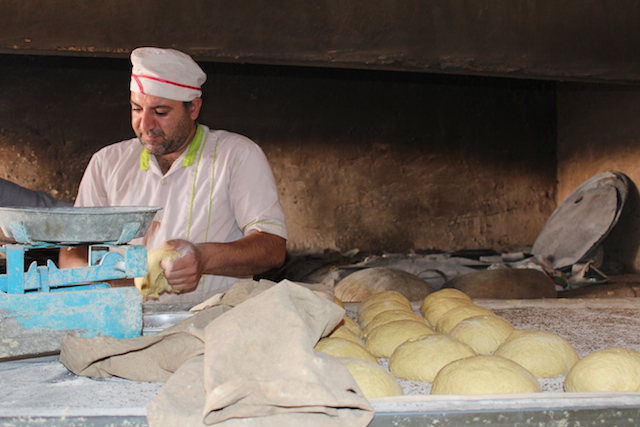
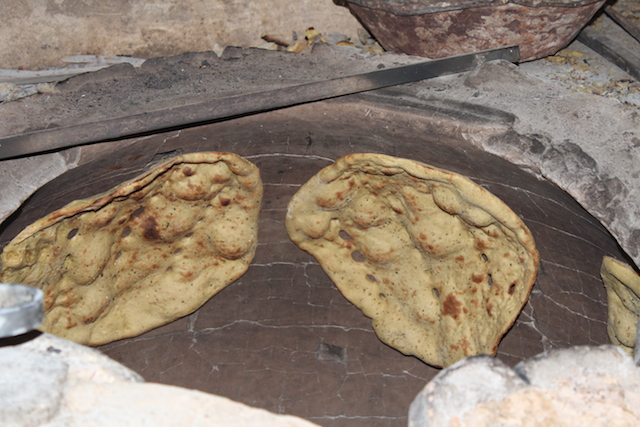
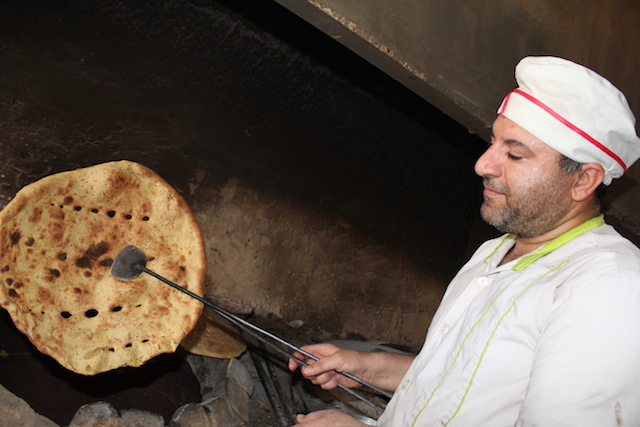
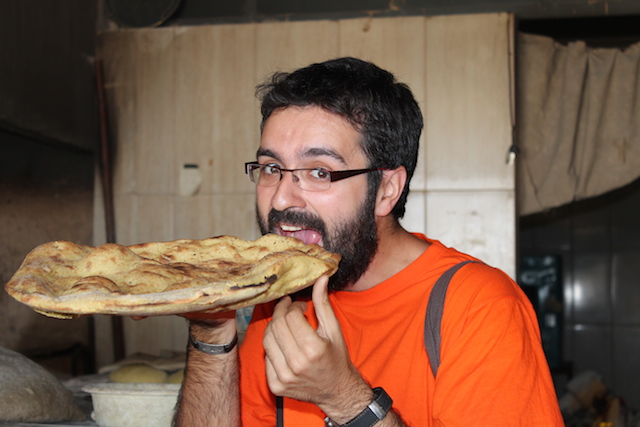
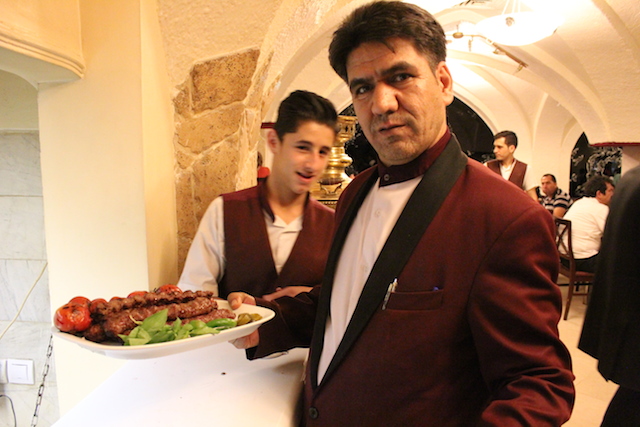
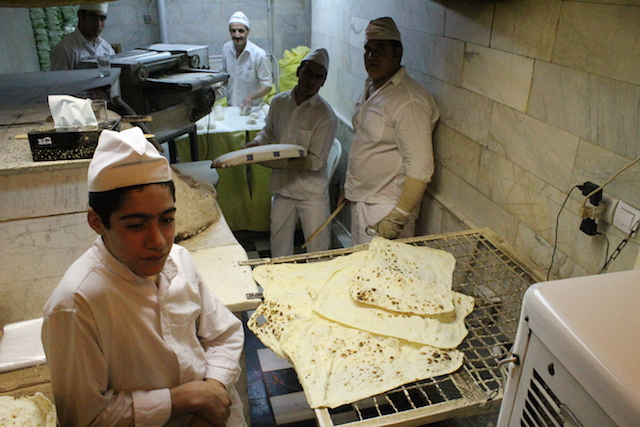
Por la noche, fuimos a cenar a un sitio muy bueno y nos encantó que a veces ponen antes de comer unas hierbas y un queso de untar, para comer con el pan, nos pusimos de pan… Y es que lo van haciendo en el momento, es una especie de masa de pizza buenísima. Y luego por supuesto Kebab, que aquí son pinchos de carne. Vinieron dos amigos españoles de Sahar, informáticos, uno que ya llevaba un año y pico aquí, y el otro un par de meses. Nos contaron sus impresiones iraníes, interesante, jeje.
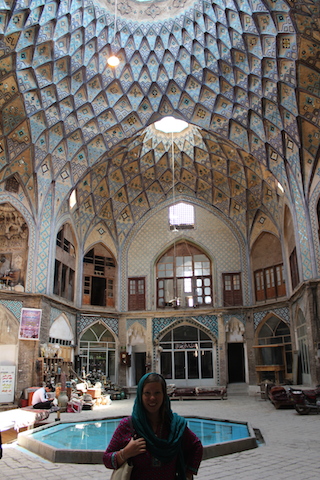
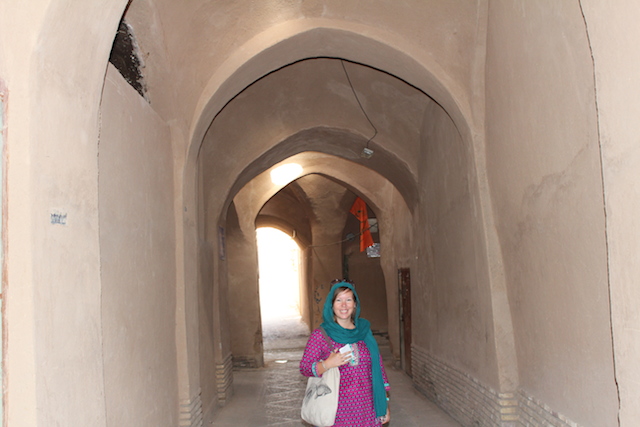
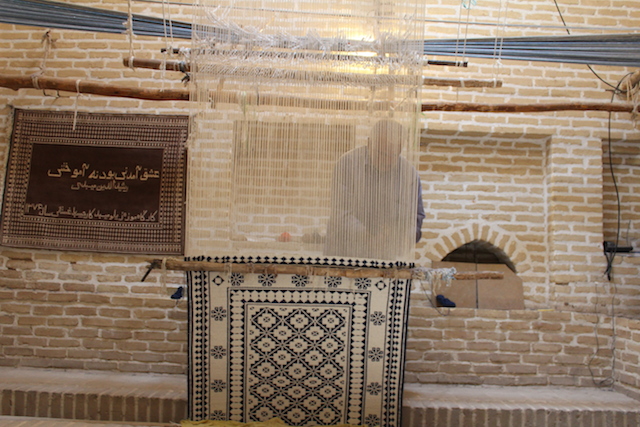
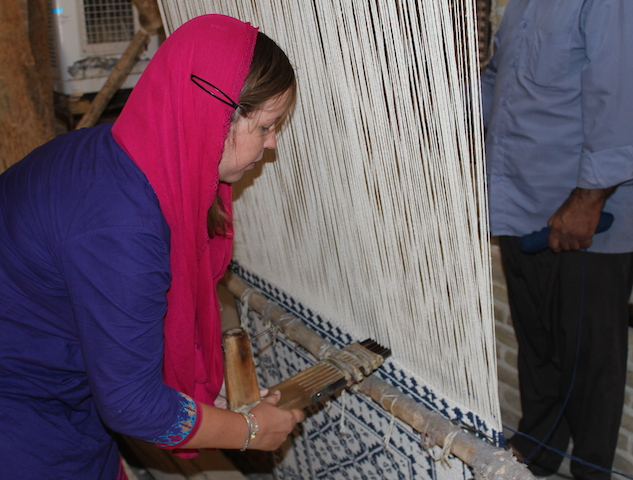
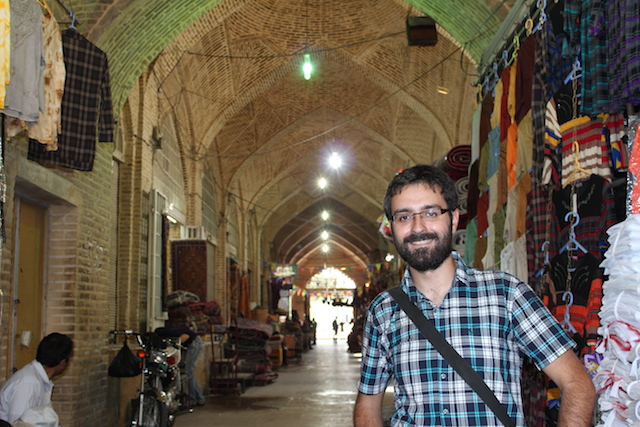
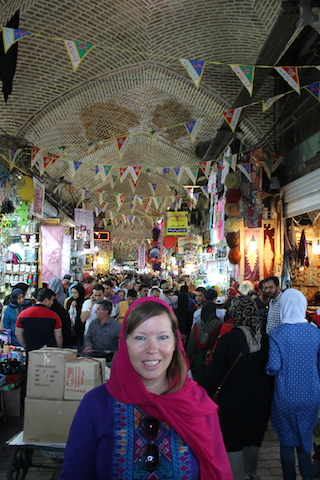
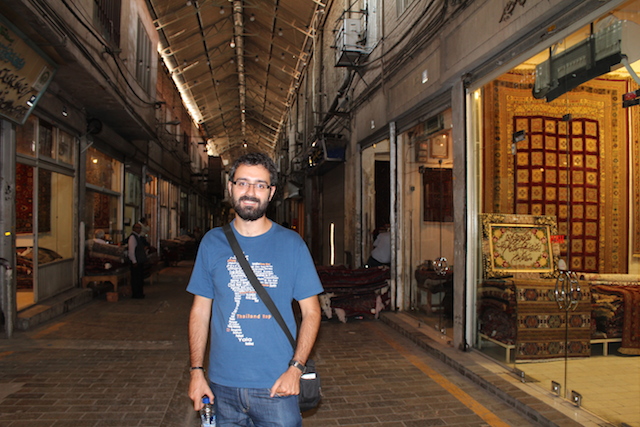
Al día siguiente, Alberto y yo nos fuimos para el gran bazar, que es impresionantemente grande, nos perdimos, vimos los puestos de alfombras, flipamos con el trabajo que hay en algunas de ellas. Algunas estaban enmarcadas y parecían cuadros, pero si las tocabas descubrías que eran una alfombra, os prometo que solo por la vista no lo diría nadie, de la perfección total con la que están hechas.
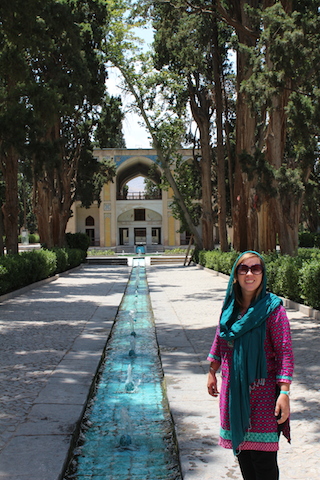
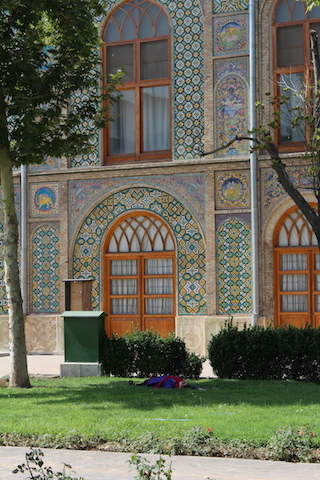
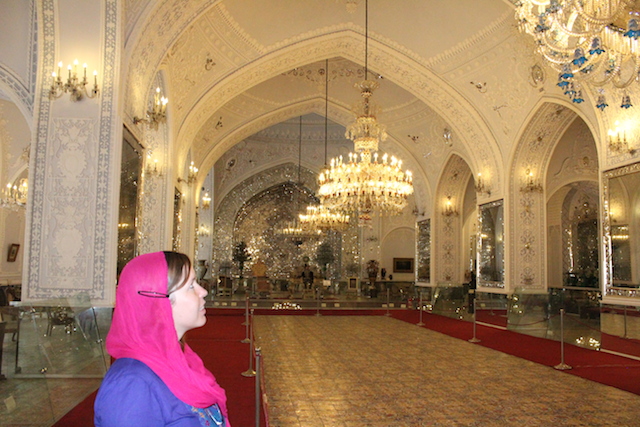
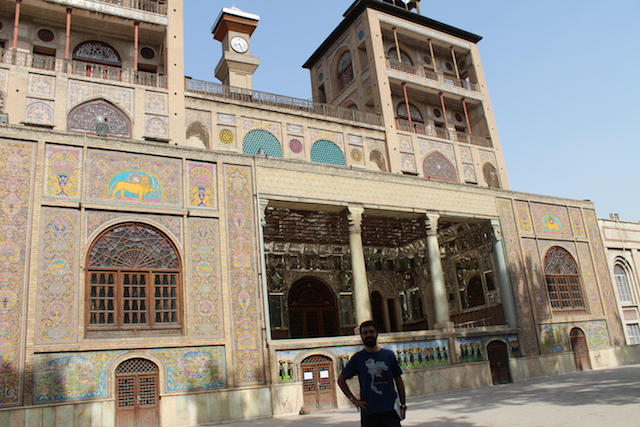
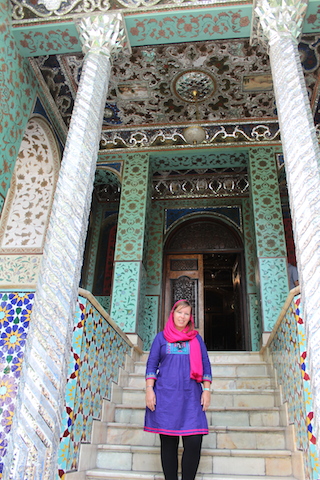
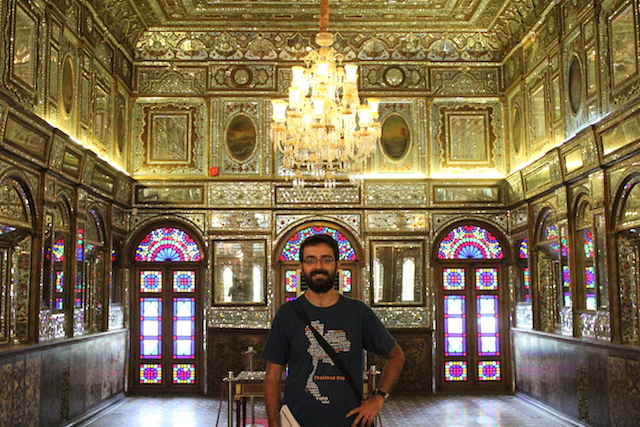
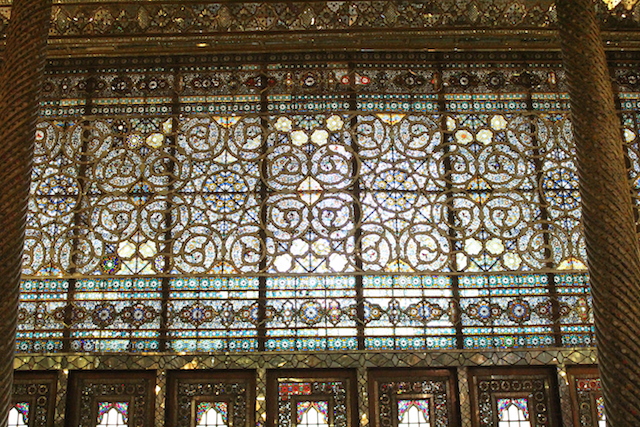
Y luego fuimos al palacio de Golestán, que nos encantó. Yo aproveché para mini siesta en el jardín. Alucinamos con los precios, ya que si entrabas a ver todas las salas, era como 12 euros. Según la guía, antes las atracciones valían prácticamente nada, pero luego pusieron un precio para turistas, bastante caro, al menos para nosotros. Nos recomendaron dos de las salas, y la verdad es que nos impresionaron mucho. Ya el conjunto del palacio por fuera con las baldositas y tal era muy chulo, pero la primera sala, con los espejos, las lámparas, las baldosas pintadas a mano del suelo… Y la otra sala con dorados y millones de espejitos y cristalitos, también preciosa.
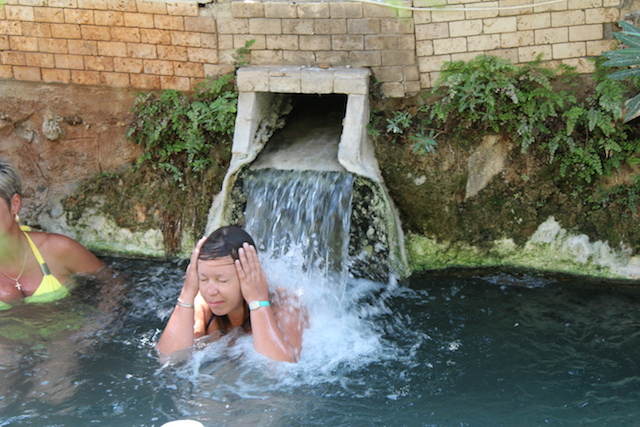
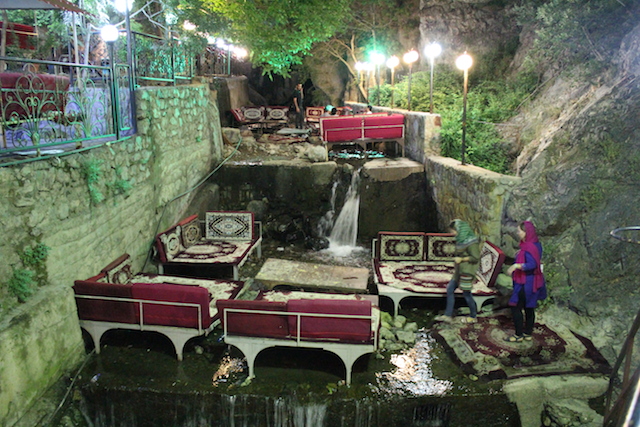
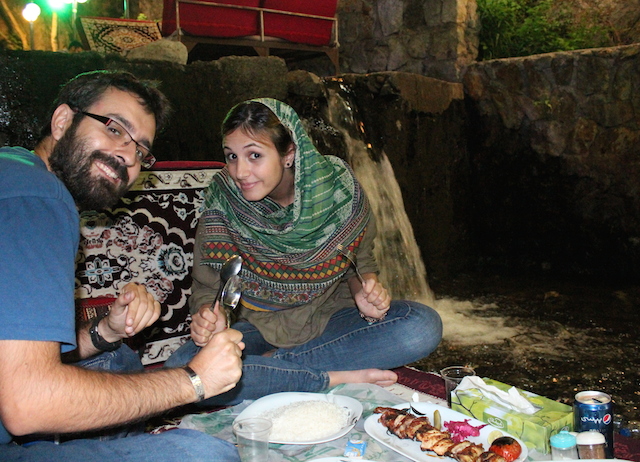
Después por la tarde, quedamos con Sahar de nuevo y fuimos a tomar un café en la cafetería del museo del cine, además yo quería comprar los DVDs de cine iraní que tenían con subtítulos en inglés, pero la tienda volvía a estar cerrada. Y después nos llevó a cenar a la montaña. Esto fue espectacular, fuimos por un camino chulísimo lleno de restaurantes chulos y al final cenamos en uno que las mesas están literalmente en el agua, cayendo la cascada, y luego fumamos una shisha.
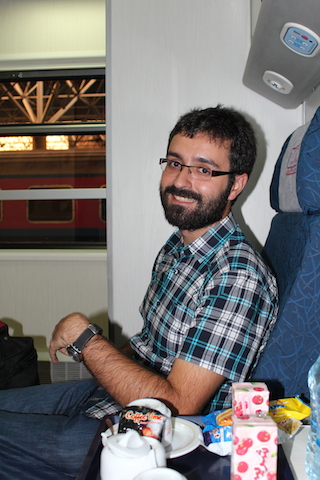
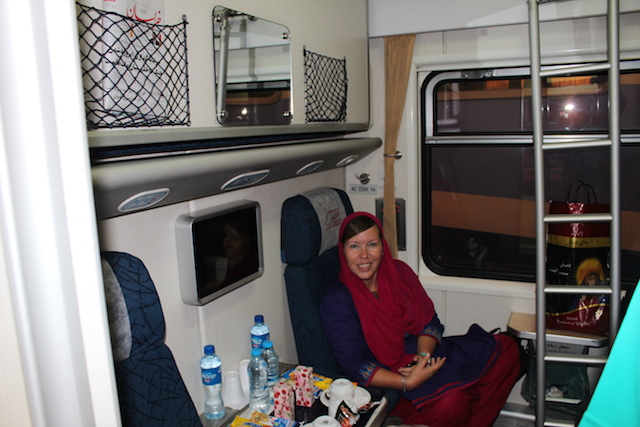
Y por último, nuestro último día en Irán, y primer día de Ramadán, descansamos un poquito y fuimos a comer a casa de Sahar, con su madre y su hermana, también encantadoras, y ya por la tarde cogimos nuestro tren hacia Shiraz. El tren de más lujo que he estado nunca. Es verdad que cogimos primera clase, pero es que 14 horas de tren, casi 1000km, nos costó como 13 euros por persona. El tren tenía butacas, y luego una cama arriba, la de abajo también se sacaba… una obra de ingeniería y diseño total.